
The Secret to Drawing Perfectly Proportionate Pictures
It's no secret that art and design go hand in hand. It's always important to keep growing as a creative and give your clients an awesomely unique experience and not just deliver them a vector logo.
Sometimes adding custom illustration is a great way to deliver a unique brand to your client. What could be more special than offering hand-drawn illustrations or hand-drawn icons to go with their branding and/or design?
WHAT IF YOUR NOT A DESIGNER?
Totally OK! This is for the fun & ambitious creative that wants to learn more about drawing.
If you've never been properly trained in drawing or painting, this little trick is great to use if you're just starting out and would like to improve your drawing skills.
Are you curious to know what all the great artist's used when they first started drawing?
*clears throat*...
*stands up straight*...
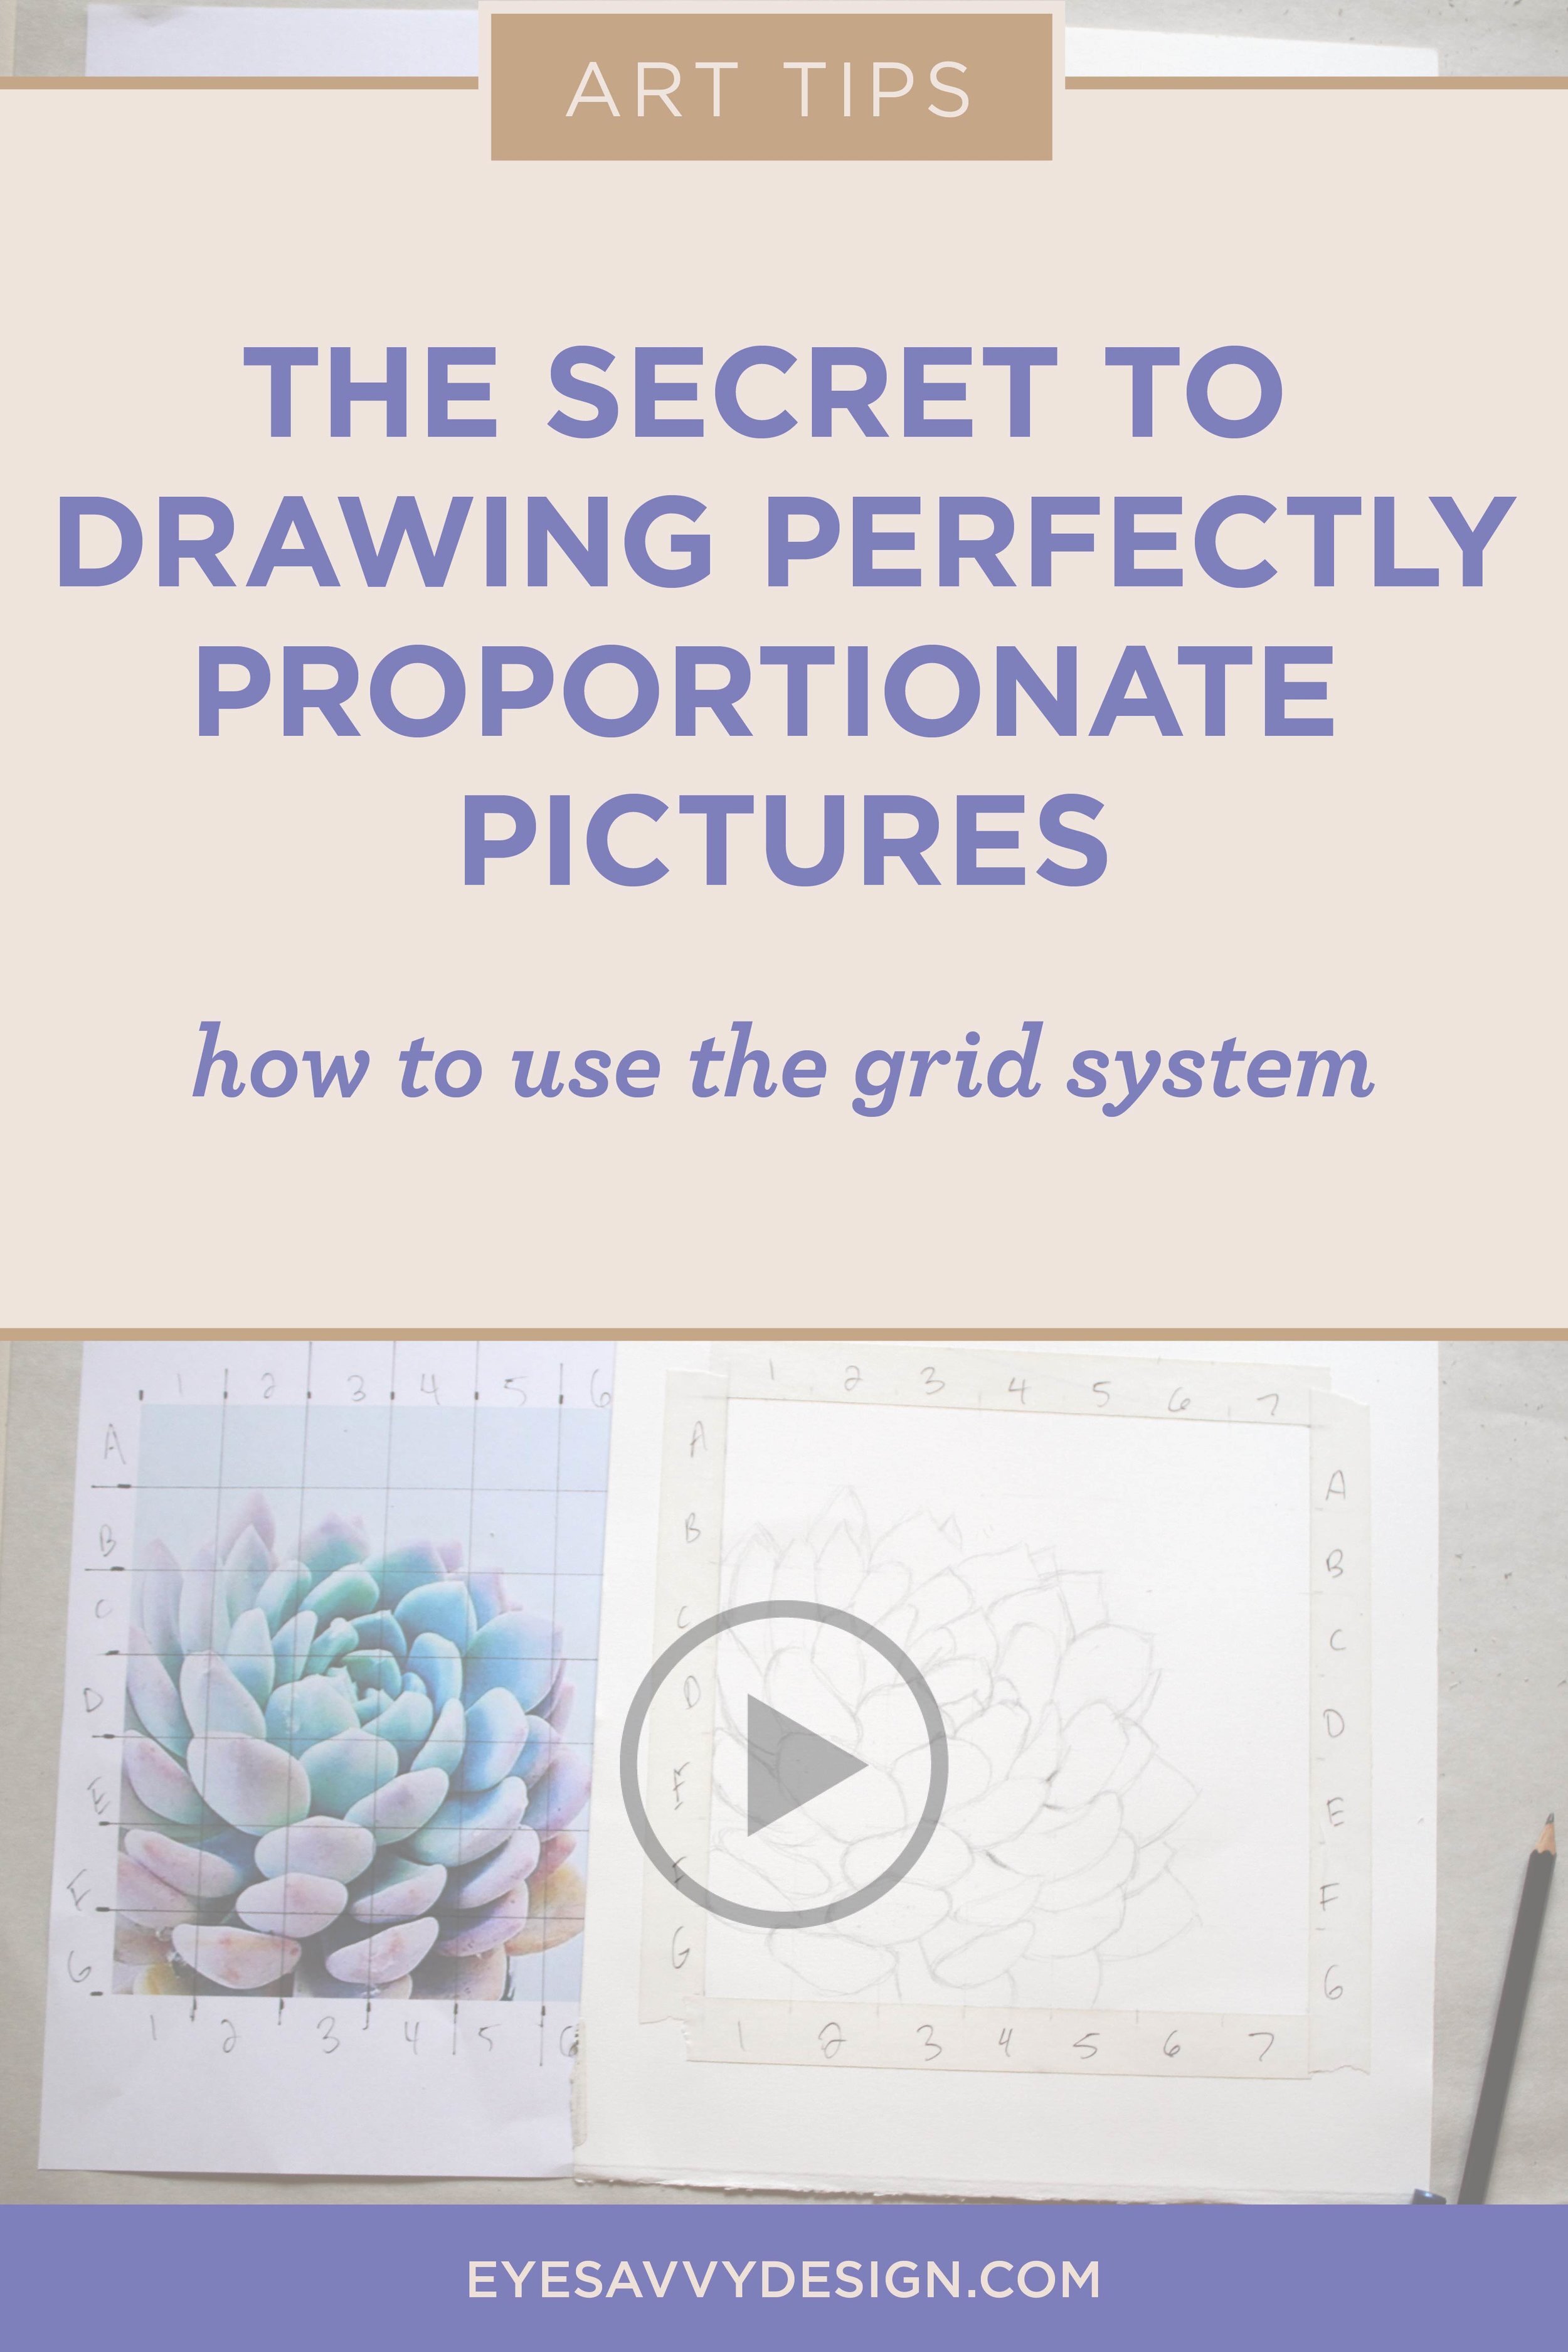
Ladies and Gents! Let me introduce you to the grid systemmmmmm!
This system can be used for 40-foot murals or even 8-inch little watercolor paintings.
Even famous painter Chuck Close uses this technique when creating his elaborately beautiful paintings.
(check out this video if you're interested in learning more about Chuck Close)
What is the grid system you may ask!? I've broken it down step by step below and also included this video tutorial.
LET'S GET TO IT!
Step 1: Choose an image.
For some reason, this took me a very long time and it didn't have to! I get so caught up in what to draw when I know I need to just jump in and start drawing.
Set a timer. Take about 5 minutes, gather some photos, and depending on the quality, choose the best one.
Step 2: Crop your image
Make your image an even number in centimeters or inches to the size you would like your composition to be.
For example, if your goal is to put this image into an 8x10 frame, then crop it to 8x10. or if you would like it postcard size, crop it to 4x6.
If you want your drawing or painting to be large then crop your photo to half that size so that 1inch square on your printed photo will equal 2 inches on your drawing. (Example: 16x20 sized drawing or painting will equal 8x10 printed photo.)

Step 3: Make 1 inch marks on each side
After you have your image printed, we need to draw a grid over it. Take a ruler, line it up to each edge of your image and mark every one inch on each side.
Step 4: connect your marks
Once the inch marks are drawn out, connect the marks by drawing lines across using a marker and a ruler.
Step 5: label your rows and columns with letters and numbers
Number and letter your grid so you can keep track of where you are drawing (kind of like Battleship).
Step 6: create the same grid on the drawing paper
Let's repeat steps 3-5 and do the same on your watercolor paper, bristol paper, canvas, etc.
USE A SOFT PENCIL FOR THIS. (Or if you're on a canvas I suggest painting a thin layer of a base color and then using a white or gray charcoal pencil.)
Draw the same size square or rectangle as your printed image. If you plan on doubling the size of your drawing or painting, then make your square or rectangle double the size. (Example: 16x20 sized drawing or painting will equal 8x10 printed photo.)
Step 7: use artist's tape for clean edges
Artist's tape is a great tool to use for all of your art pieces. It Keeps the edges of your drawing clean and does not rip the paper when you take it off. I definitely recommend getting it, if it is affordable for you (I have a list of all materials at the bottom of this post).
Step 8: erase the graphite lines
Even though you've placed your tape down, I would go the extra step to erase the graphite along those edges.
Step 9: draw 1 inch marks on each side
After you have the size of your square or rectangle drawn out, let's draw a grid over it! Take a ruler, line it up to each edge of your image and mark every one inch on each side.
Step 10: connect your marks
Connect the marks by drawing lines across using an HB or 2B pencil. Put very little pressure when dragging your pencil against the ruler and across the paper. I like to use soft pencils so that it is very easy to erase your grid after you've sketched out your drawing.
Step 12: start drawing
Single out each square and draw that shape within. Start with outlines, don't jump into shading right away. Use a soft pencil (2B) so that it's easier to erase.
Think of each little square on your grid as its own mini-canvas. An image within an image, a shape within a shape.
Take your time to see how certain parts of your drawing go from one box into the next box. Does a line crossover in the middle? Or does a line crossover in a corner and stop in the middle of the next box?
The grid is really a visual mapping system for you to properly measure out your drawing. The more and more you practice this, the more you will start to have a mental grid or "map" in your head and you won't have to go through the process of physically drawing out the grid each time.


I appreciate you taking the time to read my blog and watch my video! If you have any questions, please don't hesitate to contact me or comment below.
here is the list of materials as promised:
1.) Alumicolor Ludwig Precision 12-Inch 30-60-90-Degree Triangle Ruler
2.) Derwent Graphic Drawing Pencils

What is your biggest Struggle today?
Fill out the form below and I can work on dedicating my next blog post or even my online course to helping you in any way I can with Art, Design or Branding. Tell me more about what you want to learn! I'm here to help.

